Rubber trees are beautiful plants incredibly popular with interior designers and plant enthusiasts alike. As fast-growing trees that have easy care needs, owning one of these beautiful plants means that you’ll likely need to repot the plant several times during its life in order to keep it healthy and growing. In this guide, we’ll walk through all of the steps on how to repot a rubber tree based on best practices we’ve learned from our own plants in our collection.
Introduction to Rubber Tree Plants

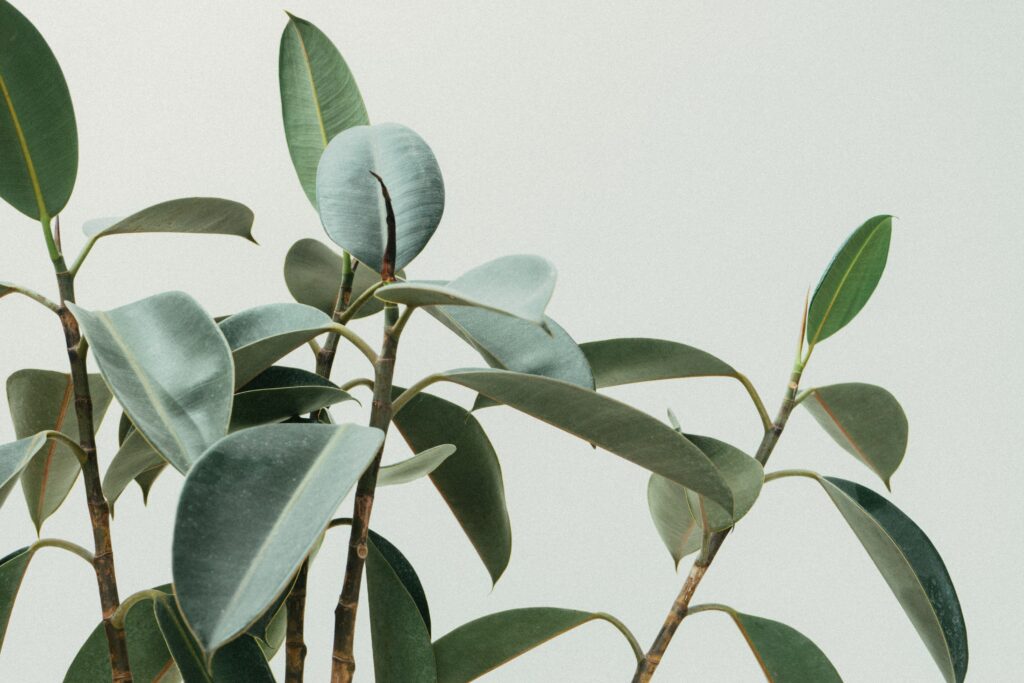
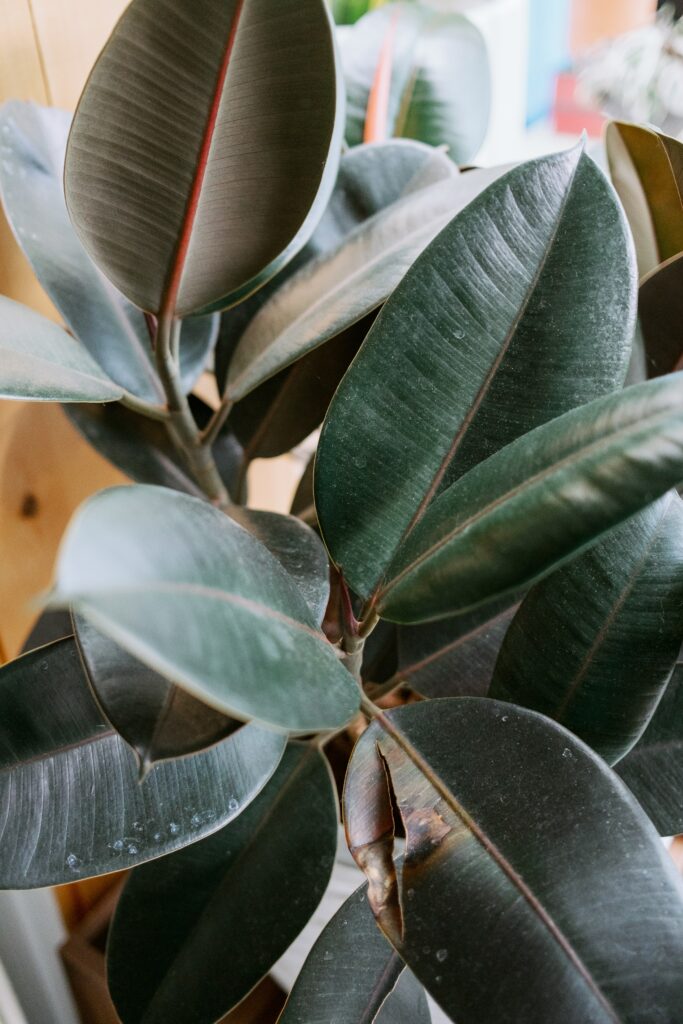
Ficus elastica, commonly referred to as Rubber Trees, are a well-liked houseplant that can bring a touch of verdancy to any indoor space. These plants are indigenous to Southeast Asia and are recognized for their sizable, lustrous leaves that can reach up to a foot in length. Rubber tree plants are relatively simple to maintain and can flourish in a variety of indoor settings. However, as they mature, they may outgrow their current container and necessitate repotting to continue to flourish. In this piece, we’ll dive into the intricacies of repotting a rubber tree plant to ensure it persists in thriving in your abode.
Signs that Your Rubber Tree Plant Needs Repotting
Rubber tree plants are renowned for their hardiness and resilience, but even these tough plants require repotting from time to time. Here are some telltale signs that your rubber tree plant is in dire need of repotting:
Roots are sprouting out of the drainage holes
If you happen to spot roots emerging from the drainage holes at the base of the pot, it’s a clear indication that your rubber tree plant has outgrown its current container.
Soil is parched and compacted
If the soil in your rubber tree plant’s pot is dry and compacted, it could be a sign that the plant has depleted all the nutrients in the soil and requires fresh soil to flourish.
The plant is lopsided
If your rubber tree plant is tilting to one side or appears to be top-heavy, it could be a sign that the roots are overcrowded and require more room to expand.
The plant is stagnant
If your rubber tree plant has ceased to grow or appears to be stunted, it could be a sign that it requires more space to grow and mature.
The pot is fractured or damaged
If the pot that houses your rubber tree plant is fractured or damaged, it could be a sign that it’s time to repot the plant into a new container.
If you observe any of these signs, it’s high time to repot your rubber tree plant. Repotting will provide your plant with the necessary space and nutrients it requires to continue thriving and flourishing.
Choosing the Right Pot and Soil for Your Rubber Tree Plant
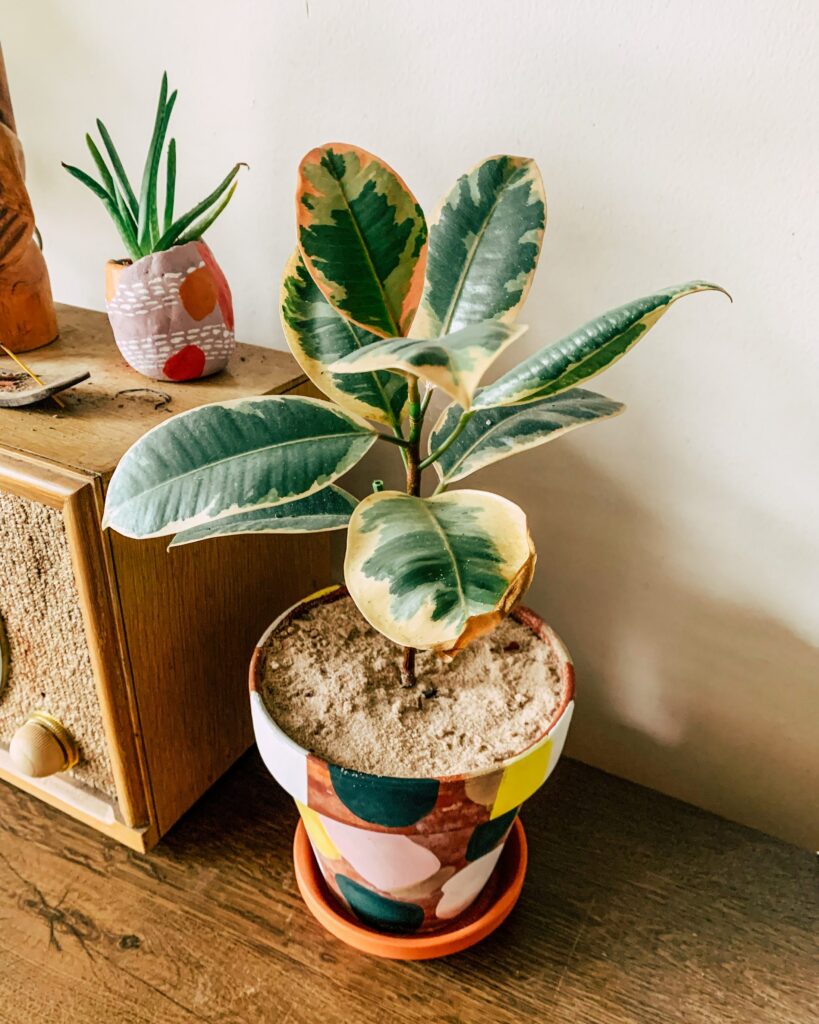
Repotting your rubber tree plant is an essential step in ensuring its growth and health. But, choosing the right pot and soil for your rubber tree is crucial to its success. Here are some tips to help you choose the right pot and soil for your rubber tree plant.
When it comes to pot size, it is essential to consider the size of the plant. A pot that is too small will restrict the growth of the plant, while a pot that is too large will hold too much water, leading to root rot. So, it’s a good rule of thumb to choose a pot that is one size larger than the current pot. This will give the plant enough room to grow without drowning in excess water.
But, the material of the pot is also important. Clay pots are porous and allow for better drainage, while plastic pots retain moisture and can lead to overwatering. So, if you choose a plastic pot, make sure it has drainage holes to prevent water from accumulating at the bottom.
Now, let’s talk about soil type. Rubber trees prefer well-draining soil that is rich in nutrients. A good potting mix for rubber trees should contain a mixture of peat moss, perlite, and vermiculite. These materials will provide good drainage while retaining moisture and nutrients.
But, you can also add some organic matter, such as compost or worm castings, to the soil to provide additional nutrients for the plant. This will help your rubber tree thrive and grow into a beautiful, healthy plant. However, avoid using heavy garden soil or soil that contains a lot of clay, as this can lead to poor drainage and root rot.
Choosing the right pot and soil for your rubber tree plant is crucial to its growth and health. So, make sure to choose a pot that is one size larger than the current pot, and use a well-draining potting mix that is rich in nutrients. With the right pot and soil, your rubber tree will thrive and grow into a beautiful, healthy plant.
Preparing Your Rubber Tree Plant for Repotting
When it comes to repotting your rubber tree plant, there are a few important steps you need to follow to ensure its success. First and foremost, it’s crucial to choose the right time to repot. Spring or early summer, when the plant is actively growing, is the best time. Avoid repotting during the winter months when the plant is dormant.
Before you start repotting, make sure to water your rubber tree plant a day or two in advance. This will ensure that the soil is moist and make it easier to remove the plant from its current pot. When selecting a new pot, choose one that is one size larger than the current pot and has drainage holes to prevent water from accumulating at the bottom.
Next, it’s time to prepare the potting mix. Mix together equal parts of potting soil, perlite, and peat moss to create a well-draining soil mix. You can also add some sand or vermiculite to improve drainage.
When it comes to pruning the roots, gently remove the plant from its current pot and inspect the roots. If they are circling around the pot, prune them back to encourage new growth. Use a clean, sharp pair of scissors or pruning shears to do this. While you have the plant out of its pot, take the opportunity to remove any dead or damaged leaves. This will help the plant focus its energy on new growth.
By following these steps, you can ensure that your rubber tree plant is properly prepared for repotting.
Repotting Your Rubber Tree Plant Step-by-Step
Repotting your rubber tree plant is a task that is essential for its healthy growth. To ensure that you do it right, here are some step-by-step instructions that you can follow:
Step 1: Choose the Right Time
The best time to repot your rubber tree plant is during the spring or summer months when the plant is actively growing. It is important to avoid repotting during the winter months as the plant is dormant and may not recover well from the shock of repotting.
Step 2: Prepare the New Pot
Choosing a new pot that is one size larger than the current pot is crucial. It is also important to make sure that the new pot has drainage holes at the bottom. Fill the new pot with fresh potting soil, leaving enough space at the top for the plant.
Step 3: Remove the Plant from the Old Pot
Gently removing the rubber tree plant from its old pot is important. If the plant is stuck, tapping the sides of the pot or using a knife to loosen the soil can help. However, it is important to be careful not to damage the roots.
Step 4: Inspect the Roots
Inspecting the roots of the rubber tree plant is crucial. If the roots are circling around the pot, it’s time to repot. Trimming any damaged or dead roots with a pair of scissors or a knife is also important.
Step 5: Place the Plant in the New Pot
Placing the rubber tree plant in the new pot is a crucial step. It is important to make sure that it’s centered. Adding fresh potting soil around the plant and pressing it down gently to remove any air pockets is also important.
Step 6: Water the Plant
Watering the rubber tree plant thoroughly is important. Making sure the soil is evenly moist and allowing the excess water to drain out of the pot is also crucial.
Step 7: Care for the Plant
After repotting, placing the rubber tree plant in a bright, indirect light location is important. Avoiding direct sunlight as it can burn the leaves is also crucial. Watering the plant regularly, but making sure the soil is not waterlogged is also important.
Repotting your rubber tree plant is a simple task that can help ensure its healthy growth. Following these step-by-step instructions can help your rubber tree plant thrive in its new pot.
Caring for Your Newly Repotted Rubber Tree Plant
After you’ve successfully repotted your rubber tree plant, it’s crucial to take proper care of it to ensure its health and growth. Here are some aftercare tips for your newly repotted rubber tree:
Watering
Your rubber tree may require more water than usual after repotting. Water it thoroughly, but be careful not to overwater it. Check the soil moisture level regularly and water only when the top inch of soil feels dry to the touch.
Light
Rubber trees prefer bright, indirect light. Place your newly repotted plant in a spot where it can receive plenty of natural light, but avoid direct sunlight as it can scorch the leaves.
Temperature and Humidity
Rubber trees thrive in warm and humid conditions. Keep your plant in a room with a temperature range of 60-85°F and a humidity level of 40-60%. You can increase humidity by placing a tray of water near the plant or using a humidifier.
Fertilizer
Your newly repotted rubber tree may benefit from a boost of nutrients. Apply a balanced fertilizer every 2-3 months during the growing season (spring and summer) to promote healthy growth.
Pruning
Regular pruning can help your rubber tree maintain its shape and size. Trim any dead or damaged leaves and branches, and pinch back new growth to encourage bushier growth.
By following these aftercare tips, you can help your newly repotted rubber tree thrive and grow into a beautiful, healthy plant. Remember, proper care is essential for the longevity of your rubber tree, so don’t neglect it!
Common Mistakes to Avoid When Repotting Rubber Tree Plants
Repotting a rubber tree plant can be a daunting task, especially if you are new to gardening. However, fear not, for with the right tools and techniques, you can successfully repot your rubber tree plant and help it thrive. But beware, there are common mistakes that can harm your plant, so it is important to tread carefully.
First, choosing the wrong pot size is a grave error. If you opt for a pot that is too small, your plant will become root-bound and may not grow properly. Conversely, if you choose a pot that is too large, your plant may not be able to absorb water and nutrients properly, which can lead to root rot. To avoid this mistake, choose a pot that is only slightly larger than the current pot.
Second, using the wrong soil can be detrimental to your plant’s health. Rubber tree plants require well-draining soil that is rich in nutrients. Avoid using heavy soils that retain water, as this can lead to root rot. Instead, use a well-draining potting mix that is specifically designed for indoor plants.
Third, overwatering is a common mistake that can harm your rubber tree plant. When you repot your plant, it is important to water it thoroughly, but then allow the soil to dry out slightly before watering again. Overwatering can lead to root rot and other fungal diseases, so be sure to monitor your plant’s soil moisture levels carefully.
Last, not pruning the roots can be a grave mistake. When you repot your rubber tree plant, it is important to prune the roots to encourage new growth. However, many people make the mistake of not pruning the roots at all. This can lead to a root-bound plant that may not grow properly. To avoid this mistake, gently loosen the roots and prune any that are circling the pot.
By avoiding these common mistakes, you can successfully repot your rubber tree plant and help it thrive. With the right care and attention, your rubber tree plant will continue to grow and flourish for years to come.
Conclusion and Final Tips for Successful Rubber Tree Plant Repotting
The task of repotting your rubber tree plant is of utmost importance to ensure its healthy growth. It is a task that should be performed every few years. To make the process easier, we have provided you with a few steps to follow. By following these steps, you can easily repot your rubber tree plant without any hassle.
First, it is important to choose the right pot size. Make sure to choose a pot that is one size larger than the current pot of your rubber tree plant. This will provide enough space for the roots to grow and prevent overcrowding. Second, use the right soil mix. Use a well-draining soil mix that is rich in nutrients and has good aeration. You can also add perlite or sand to the soil mix to improve drainage.
Third, water the plant after repotting. After repotting, water your rubber tree plant thoroughly to help it settle in the new pot. However, avoid overwatering as it can lead to root rot. Fourth, place the plant in a suitable location. Place your rubber tree plant in a location that receives bright, indirect sunlight and has good air circulation. Avoid placing it in direct sunlight or near a drafty area.
Last, monitor the plant. Keep an eye on your rubber tree plant for the first few weeks after repotting. Check for any signs of stress or wilting and adjust the watering accordingly. By following these tips, you can ensure a successful rubber tree plant repotting and enjoy a healthy and thriving plant for years to come.
Frequently Asked Questions
When should I repot my rubber tree?
You should repot your rubber tree every 2-3 years or when you notice the roots are growing out of the drainage holes or the soil is not draining properly.
What type of soil should I use?
Use a well-draining potting mix that is rich in organic matter. You can also add perlite or sand to improve drainage.
What size pot should I use?
Choose a pot that is one size larger than the current pot. Avoid using a pot that is too large as it can lead to overwatering and root rot.
How do I remove the plant from the old pot?
Gently loosen the soil around the edges of the pot with a trowel or your hands. Turn the pot upside down and tap the bottom to release the plant. If the plant is stuck, use a knife to loosen the roots.
How do I prune the roots?
Trim any dead or damaged roots with a clean pair of scissors or pruning shears. You can also trim any long roots to encourage new growth.
How do I repot a rubber tree plant?
Place a layer of soil at the bottom of the new pot. Place the plant in the center of the pot and fill in the sides with soil. Gently press down the soil to remove any air pockets. Water the plant thoroughly.