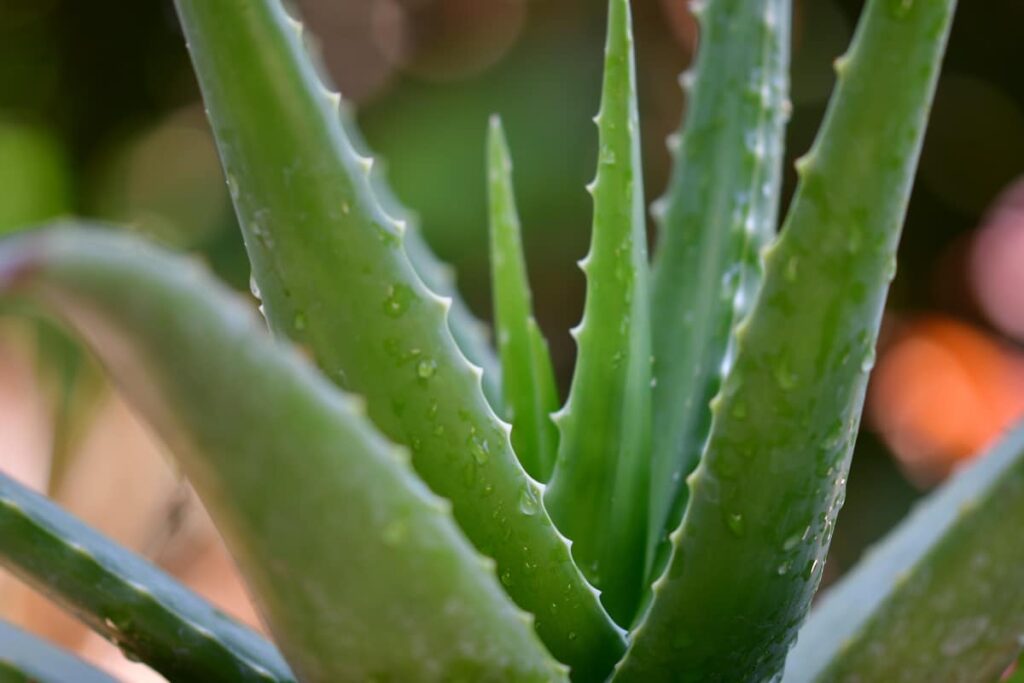
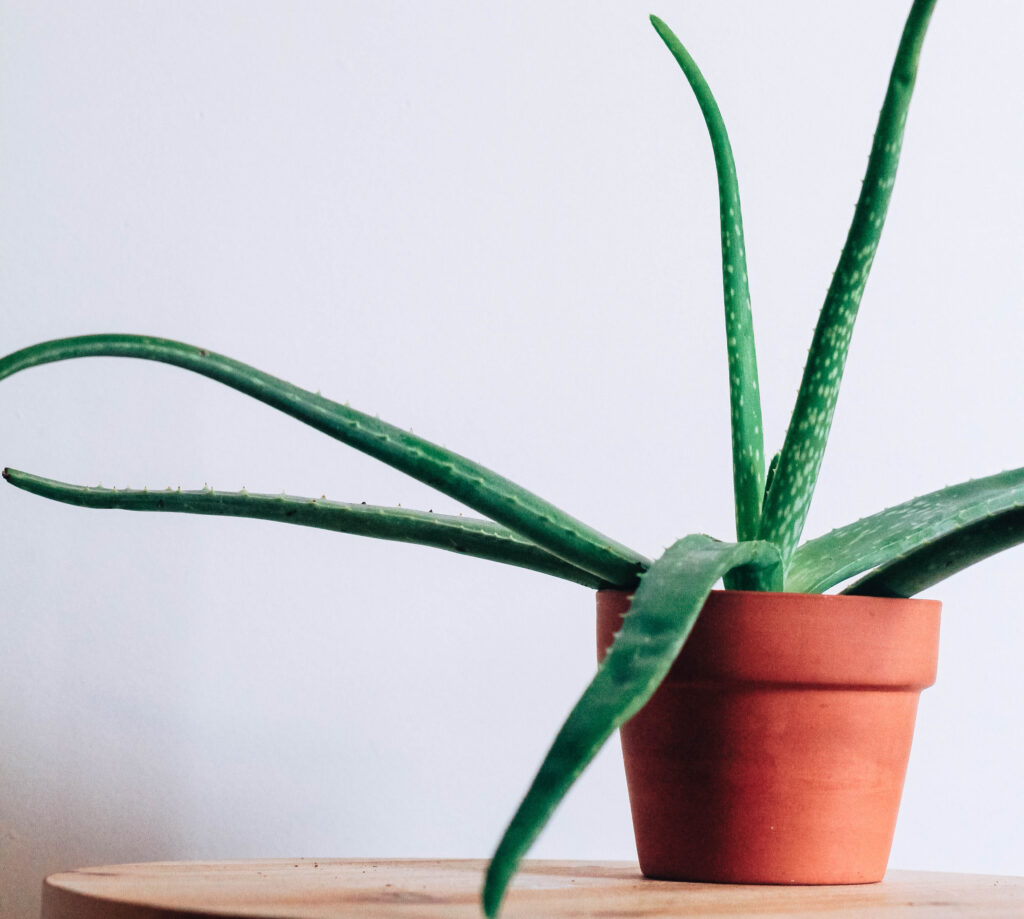
Aloe plants, with their low maintenance and numerous health benefits, are a popular choice for indoor and outdoor gardening. These succulent plants, native to Africa, thrive in warm, dry climates and are known for their thick, fleshy leaves that store water, making them drought-tolerant and easy to care for. But don’t be fooled by their hardy nature, aloe plants can still experience issues that require attention and care. Aloes can sometimes have issues with overwatering and pests. However, all hope isn’t lost if you notice decline in your plant. In this article, we’ll break down just how to save an aloe plant if you notice its health start to slip.
Signs of an Unhealthy Aloe Plant
Aloe Vera plants, popular houseplants with medicinal properties are also resilient and can thrive in most indoor conditions, making them a very popular plant choice for plant collectors. However, Aloes require proper care and attention to maintain health and growth. Here are some signs that your Aloe plant may be unhealthy:
1. Yellowing leaves, a common sign of overwatering, can indicate root rot, which can lead to the leaves turning yellow.
2. Brown spots on the leaves can be a sign of sunburn, which can occur if the plant is exposed to too much direct sunlight.
3. Wilting leaves can indicate underwatering, which can cause the leaves to wilt and eventually die.
4. Mushy leaves, a sign of root rot, can be fatal to your aloe plant if not treated promptly.
5. Stunted growth can be a sign of poor soil quality or lack of nutrients, which can be remedied with well-draining soil and occasional fertilization.
If you notice any of these signs in your aloe plant, it is crucial to take action to save your plant. With the right care and attention, your aloe plant can recover and thrive once again.
Common Causes of Aloe Plant Decline
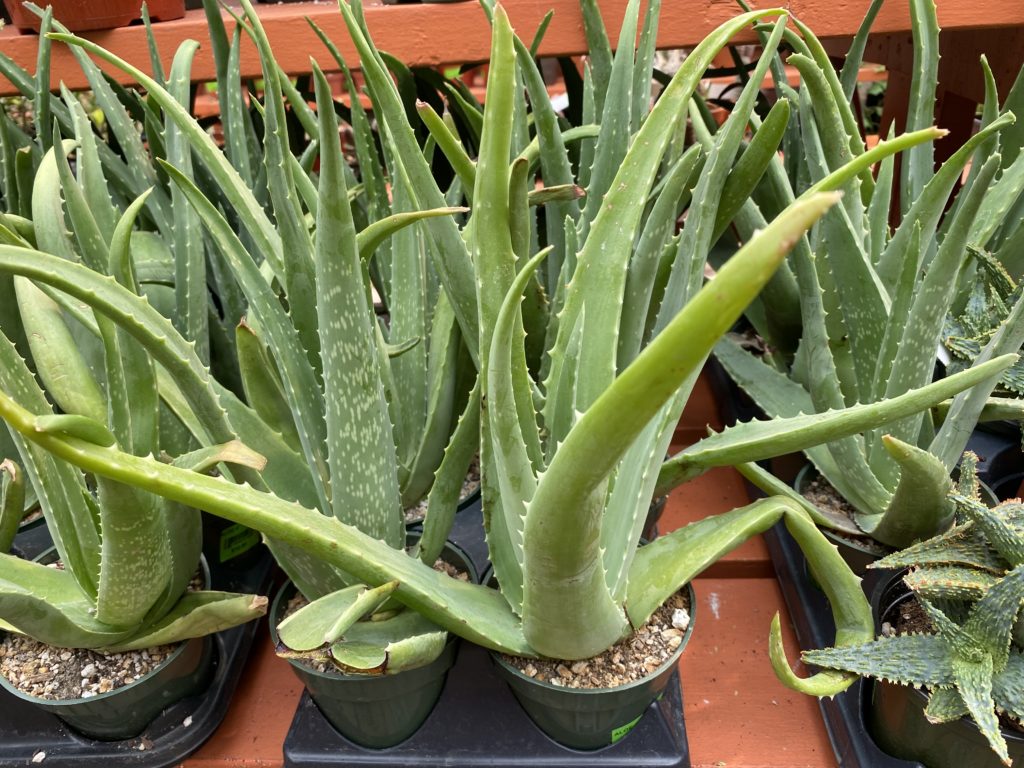
Aloe plants are renowned for their robustness and resilience, but even they can suffer from deterioration if not given the proper care. Here are some of the most common causes of aloe plant deterioration that you should be aware of:
Overwatering
Aloe plants are succulents and are well-equipped to survive in arid conditions. However, overwatering can lead to root rot and other fungal diseases that can be fatal to the plant.
Underwatering
While aloe plants can endure dry conditions, they still require water to flourish. If they are not given enough water, the leaves can become parched and brittle, and the plant may eventually perish.
Insufficient sunlight
Aloe plants require an abundance of sunlight to grow and thrive. If they are kept in a dim or shady area, they may become frail and spindly.
Poor soil quality
Aloe plants necessitate well-draining soil that is rich in nutrients. If the soil is too compacted or lacks nutrients, the plant may not be able to absorb the water and nutrients it needs to grow.
Infestations and diseases
Aloe plants can be vulnerable to pests such as mealybugs and spider mites, as well as diseases such as root rot and leaf spot. These can cause the plant to deteriorate and eventually die if not treated promptly.
By comprehending these common causes of aloe plant deterioration, you can take measures to prevent them and keep your plant healthy and thriving.
Steps to Save an Aloe Plant
If you happen to notice that your aloe plant is struggling, don’t fret! There are a multitude of steps you can take to save it and nurse it back to health. Here are the steps you should follow:
Identify the problem
The first step in saving your aloe plant is to identify the problem. Is it getting too much or too little water? Is it getting enough sunlight? Are there any pests or diseases affecting it? Once you know what the problem is, you can take the appropriate steps to fix it.
Adjust watering
Aloe plants are succulents, which means they store water in their leaves. They don’t need to be watered as often as other plants. Overwatering can cause the roots to rot, so make sure the soil is completely dry before watering again. Underwatering can cause the leaves to become dry and brown. Water your aloe plant once a week during the growing season and once every two to three weeks during the winter.
Provide enough sunlight
Aloe plants need bright, indirect sunlight to thrive. If your plant is not getting enough light, move it to a brighter location. If it’s getting too much direct sunlight, move it to a shadier spot.
Check for pests
Pests like mealybugs and spider mites can damage your aloe plant. Check the leaves and stems for any signs of pests. If you find any, use an insecticidal soap to get rid of them.
Repot if necessary
If your aloe plant is root-bound, it may need to be repotted. Choose a pot that is slightly larger than the current one and use a well-draining soil mix.
By following these steps, you can save your aloe plant and help it thrive. Remember to be patient, as it may take some time for your plant to recover. With proper care, your aloe plant will reward you with its beautiful, healing leaves.
Repotting Your Aloe Plant
Repotting an aloe plant is a crucial step in guaranteeing its growth and survival. It is highly recommended to repot your aloe plant every two to three years, or when you notice that the plant has outgrown its current pot. Getting the right container can go a long way to save an aloe plant since its pot impacts its room to grow, water concentration, and soil consistency.
To repot your aloe plant, you will need a new pot that is slightly larger than the current one, fresh potting soil, and a pair of gardening gloves. Here are the steps to follow:
Choose a new pot
The first step is to select a pot that is slightly larger than the current one. It is essential to ensure that the new pot has drainage holes at the bottom to prevent water from accumulating and causing root rot.
Prepare the potting soil
The second step is to use a well-draining potting mix that is specifically formulated for cacti and succulents. Alternatively, you can make your own mix by combining equal parts of sand, perlite, and peat moss.
Remove the plant from its current pot
The third step is to gently loosen the soil around the plant with your fingers or a gardening tool. Carefully lift the plant out of the pot, making sure not to damage the roots.
Remove any dead or damaged roots
The fourth step is to inspect the roots and remove any that are brown, mushy, or damaged. This will help prevent the spread of disease and promote healthy growth.
Add fresh soil to the new pot
The fifth step is to fill the new pot with enough soil to cover the bottom and create a small mound in the center.
Place the plant in the new pot
The sixth step is to center the plant in the new pot and fill in the gaps with fresh soil. It is crucial to ensure that the plant is at the same level as it was in the previous pot.
Water the plant
The seventh and final step is to give the plant a good watering to help settle the soil and encourage root growth. It is essential to allow the soil to dry out completely before watering again.
By following these steps, you can guarantee that your aloe plant has enough space to grow and thrive. Remember to keep an eye on your plant and adjust its care as needed to ensure its continued health and vitality.
Watering Your Aloe Plant
Watering an aloe plant is a crucial aspect of its care. Overwatering or underwatering can both lead to the plant’s untimely demise. The best way to save an aloe plant is to ensure it gets the right amount of water: not too much and not too little. To ensure that your aloe plant stays healthy, here are some tips on how to properly water it:
Check the soil
Before you even think about watering your aloe plant, it’s important to check the soil. But how do you know when it’s time to water? Stick your finger about an inch into the soil and feel around. If it feels dry, then it’s time to water. But if it feels moist, then hold off on watering for a bit longer.
Water sparingly
Aloe plants are succulents, which means they store water in their leaves. This means that they don’t need to be watered as often as other plants. In fact, watering your aloe plant once every two to three weeks should be sufficient.
Use well-draining soil
Aloe plants need soil that drains well. If the soil is too dense, it can hold onto water and cause the roots to rot. To avoid this, use a cactus or succulent soil mix, or add perlite or sand to regular potting soil to improve drainage.
Water from the bottom
To avoid getting water on the leaves, which can cause them to rot, it’s best to water your aloe plant from the bottom. Simply place the pot in a saucer of water and let it soak up the water for about 30 minutes. Then, remove the pot from the saucer and let it drain.
Don’t let the plant sit in water
While it’s important to water your aloe plant, it’s equally important not to let it sit in water. This can cause the roots to rot. To avoid this, make sure the pot has drainage holes and remove any excess water from the saucer after watering.
By following these watering tips, you can help your aloe plant thrive and stay healthy for years to come.
Sunlight

The growth and survival of an aloe plant is heavily dependent on the presence of sunlight. It is imperative to place these plants in a location that provides them with enough light without exposing them to direct sunlight. The amount of sunlight an aloe plant receives can have a significant impact on its overall health and well-being.
If an aloe plant is not receiving enough sunlight, it may exhibit signs of distress. The leaves may become pale or yellow, and the plant may start to droop or wilt. Conversely, if an aloe plant is exposed to too much direct sunlight, the leaves may become brown or scorched, leading to further damage.
To ensure that your aloe plant receives the appropriate amount of sunlight, it is recommended to place it near a window that receives bright, indirect sunlight. In the event that natural light is insufficient, artificial grow lights can be used to supplement the light source.
It is also crucial to rotate your aloe plant every few weeks to ensure that all sides of the plant receive equal amounts of sunlight. This will help prevent the plant from leaning or growing unevenly, which can lead to further complications.
Providing your aloe plant with the right amount of sunlight is essential for its growth and survival. By placing it in a location with bright, indirect sunlight and rotating it regularly, you can help your aloe plant thrive and maintain its health.
Fertilizing
Fertilizing your aloe plant is a crucial aspect of keeping it healthy and thriving. Although aloe plants require minimal fertilization, it is still necessary to provide them with the necessary nutrients to promote growth and prevent nutrient deficiencies.
To fertilize your aloe plant, it is best to use a balanced, water-soluble fertilizer. You can choose between a general-purpose fertilizer with an N-P-K ratio of 10-10-10 or a succulent-specific fertilizer with an N-P-K ratio of 2-4-7. However, it is important to avoid using fertilizers that are high in nitrogen, as this can cause the plant to grow too quickly and become weak.
During the growing season, which typically spans from spring to fall, you should fertilize your aloe plant once a month. Dilute the fertilizer according to the instructions on the package and apply it to the soil around the base of the plant. Be careful not to get any fertilizer on the leaves, as this can cause damage.
In contrast, during the winter months, when the plant is dormant, you can reduce the frequency of fertilization to once every two to three months. It is also important to avoid fertilizing a plant that is stressed or has recently been repotted, as this can cause further stress and damage.
In addition to fertilization, it is crucial to ensure that your aloe plant is receiving adequate sunlight, water, and proper drainage. By providing your plant with the necessary care and attention, you can help it thrive and continue to provide you with its many benefits and know the red flags to look for to save an aloe plant from nutrient deficiency.
Pruning
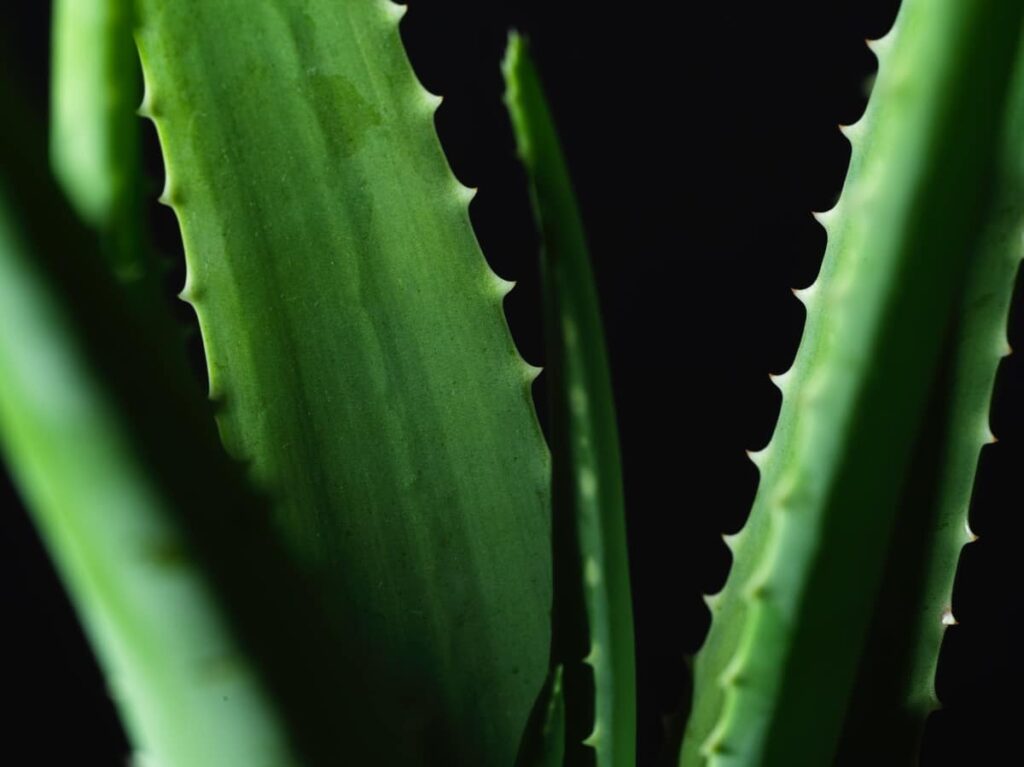
Pruning an aloe plant is a crucial step in ensuring its survival. By removing any dead or damaged leaves, you can prevent the onset of pests and diseases that can wreak havoc on your plant. Additionally, pruning can stimulate new growth and help maintain the plant’s shape.
To get started, you’ll need a sharp and clean pair of scissors or pruning shears. It’s important to identify any leaves that are brown or yellow, wilted or shriveled, and cut them off at the base as close to the stem as possible. This will help prevent the spread of disease and ensure that your plant stays healthy. These can be trimmed back to maintain the plant’s shape, but be sure to cut them off at an angle and leave a small stub of the leaf behind. This will help the plant heal more quickly and prevent any further damage.
It’s important to note that you should sterilize your scissors or pruning shears between cuts to prevent the spread of disease. You can do this by wiping them down with rubbing alcohol or dipping them in a solution of one part bleach to nine parts water.
After pruning, your aloe plant may look a bit bare, but don’t worry! With plenty of sunlight, water, and well-draining soil, it will soon start to grow new leaves and fill out again. So go ahead and give your aloe plant the TLC it deserves!
Tips for Maintaining a Healthy Aloe Plant
Maintaining the health of your aloe plant is crucial to ensure its longevity and prosperity. To achieve this, there are several tips you should keep in mind.
First, watering your aloe plant is a delicate process that requires precision. Overwatering can lead to root rot, which can ultimately result in the plant’s demise. Therefore, it is essential to water the plant only when the soil is completely dry. During the winter months, reduce watering to once a month to avoid any potential damage.
Second, sunlight is a crucial factor in the growth of your aloe plant. It requires bright, indirect sunlight to thrive. Placing the plant near a window that receives plenty of sunlight is ideal, but be sure to avoid direct sunlight as it can scorch the leaves.
Third, the soil you use for your aloe plant is equally important. It requires well-draining soil to ensure proper drainage. Using a cactus or succulent mix that contains sand or perlite is recommended to achieve this.
Fourth, fertilization is not required frequently for aloe plants. Fertilize the plant once every three months with a balanced fertilizer to ensure its growth and health.
Last, pruning your aloe plant is essential to promote new growth and keep it looking healthy. Regularly removing dead or damaged leaves will help achieve this.
By following these tips, you can maintain a healthy aloe plant that will continue to thrive for years to come while knowing how to save an aloe plant in the unlikely event your collection experiences an issue.
Conclusion: Enjoying a Thriving Aloe Plant
Wow, congratulations are in order! You have successfully saved your aloe plant and now it is thriving. With proper care and attention, your aloe plant can continue to grow and provide you with its many benefits for years to come. But don’t get too comfortable just yet, as there are still some important steps you need to take to ensure your plant stays healthy and happy.
First and foremost, it’s crucial that you keep a close eye on your plant’s soil moisture levels. This means regularly checking the soil and adjusting your watering schedule accordingly. And don’t forget to keep your aloe plant in a bright, sunny location, while also protecting it from extreme temperatures and drafts. If you notice any issues, take action immediately to prevent further damage. And don’t be afraid to prune your plant as needed to promote healthy growth and remove any dead or damaged leaves.
By following these simple steps, you can enjoy a beautiful and healthy aloe plant that will bring a touch of greenery and natural beauty to your home. Hopefully you got some tactics to put into place to either know how to save an aloe plant or proactively avoid the situation in the first place!
Frequently Asked Questions on How to Save an Aloe Plant
How often should I water my aloe plant?
Aloe plants should be watered deeply but infrequently. Water your aloe plant only when the soil is completely dry. This usually means watering once every two to three weeks. Overwatering can lead to root rot and kill the plant.
What kind of soil should I use for my aloe plant?
Aloe plants prefer well-draining soil that is slightly acidic. You can use a cactus or succulent soil mix or make your own by mixing equal parts of sand, perlite, and potting soil.
How much sunlight does my aloe plant need?
Aloe plants need bright, indirect sunlight. They can also tolerate some direct sunlight, but too much can burn the leaves. Place your aloe plant near a sunny window or outside in a shaded area.
What should I do if my aloe plant’s leaves turn brown or yellow?
Brown or yellow leaves on an aloe plant can be a sign of overwatering, underwatering, or too much direct sunlight. Check the soil moisture level and adjust your watering schedule accordingly. Move the plant to a shadier spot if it’s getting too much direct sunlight.
Can I propagate my aloe plant?
Yes, aloe plants can be easily propagated by removing the offsets or “pups” that grow from the base of the plant. Wait until the pups are at least a third of the size of the parent plant before removing them. Plant the pups in their own pots with well-draining soil and water sparingly until they establish roots.